Mailchimp is an email marketing tool that allows you to easily create and send marketing messages to many recipients at one time using its “Campaigns” feature. In Mailchimp’s Campaign Builder, you can create an email design, add recipients, set up tracking procedures and send automated replies.
Here are the steps for creating a regular email campaign:
Create a Campaign
- Login to your Mailchimp account.
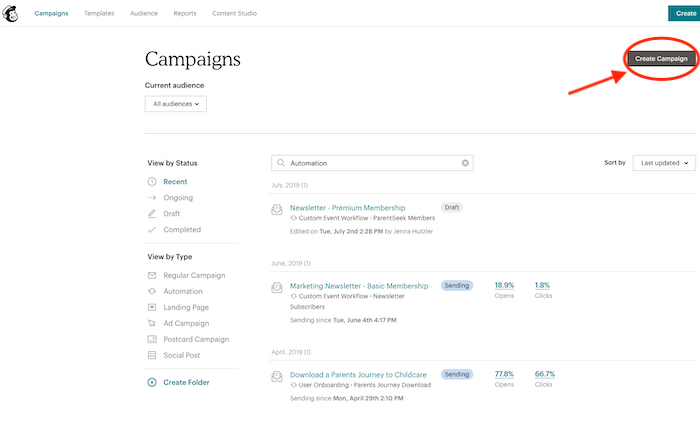
- Find the Campaigns page in the upper left hand corner.
- Click Create Campaign.
- Select Email.
- Under the Regular tab, enter a Campaign name. Keep your campaign name simple with a quick description and date, such as “Back to School Newsletter – Sept 2019” or “Holiday Newsletter – Dec 2019.” Future campaigns can then reference the same name structure.
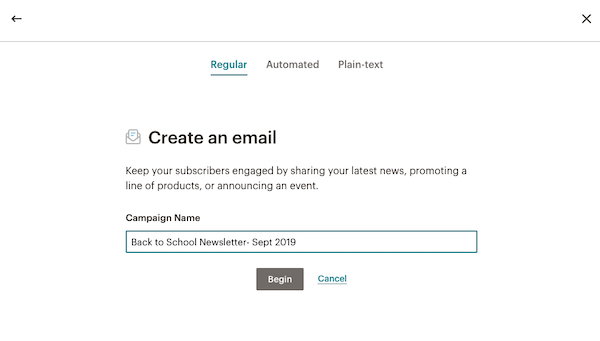
- Click Begin.
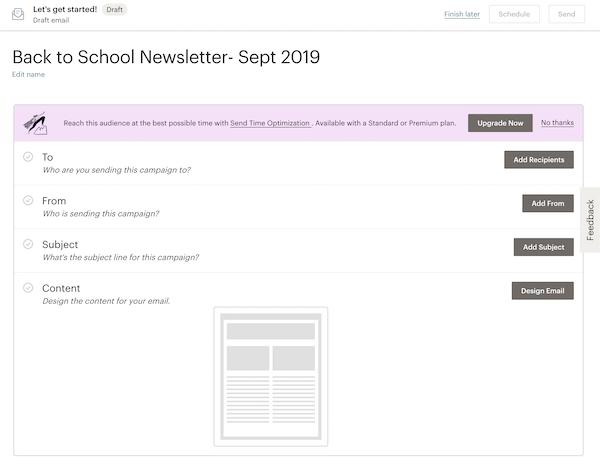
Setup the Email in Campaign Builder
-
- In the To section, click Add Recipients.
- Click the dropdown menu to choose a specific audience. Click Save.

- In the From section, enter a “from name” and email address. You’ll want to use your daycare’s name, so subscribers will instantly recognize you. Click Save.
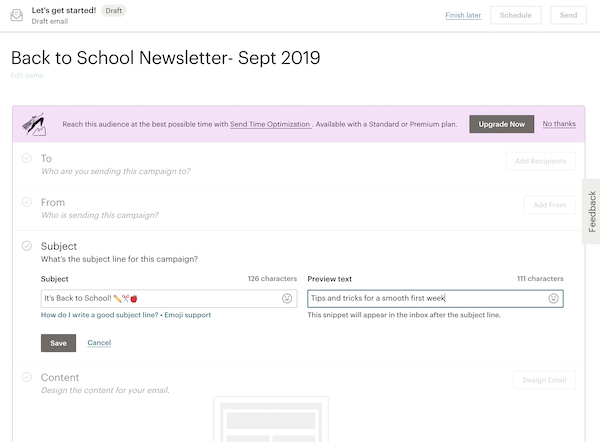
- Add your email subject line in the Subject section. It’s important that your subject line is eye-catching so that subscribers will open your email. In the preview text box, you can enter up to 150 characters that will display next to the subject line. Think of it as a “sneak peek” into your email. Click Save.
Tip: Use emojis in your subject line to catch busy parents’ attention!
Design the Email
- Under the Content section, click Design.
- From here, you can select a template and begin designing your email! We suggest using one of the layouts provided to get started, until you’re feeling more comfortable with Mailchimp.
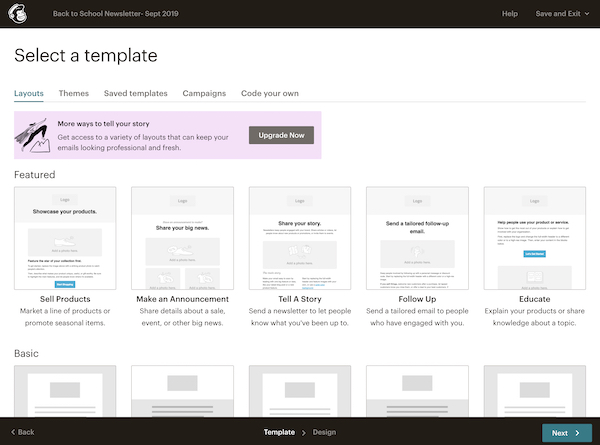
- Next, choose a theme that best fits your daycare’s message and brand. You’ll want to create a consistent visual design for all of your future email campaigns.
- Click the Preview and Test tool dropdown to test your email.
- Once your design is complete, click Save and Continue.
Settings and Tracking
- Scroll down to Settings & Tracking. Click Edit.
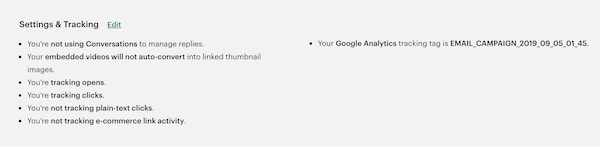
- Check the boxes next to the tracking options you want to allow.
- Click Save.
- Schedule or Send your email campaign.
- On the Prepare for launch screen, click Send Now to confirm your send!