MailChimp is a platform used for email marketing. It is user-friendly and comes with helpful templates if you aren’t sure where to start. MailChimp is a free application with the option for paid upgrades once you get the hang of things. Don’t worry, all accounts start on their Forever Free plan so you do not need to provide a credit card to get started.
You will need a unique username, a physical mailing address and some determination! The MailChimp blog is filled with how-tos and tricks of the trade if you need a reference point.
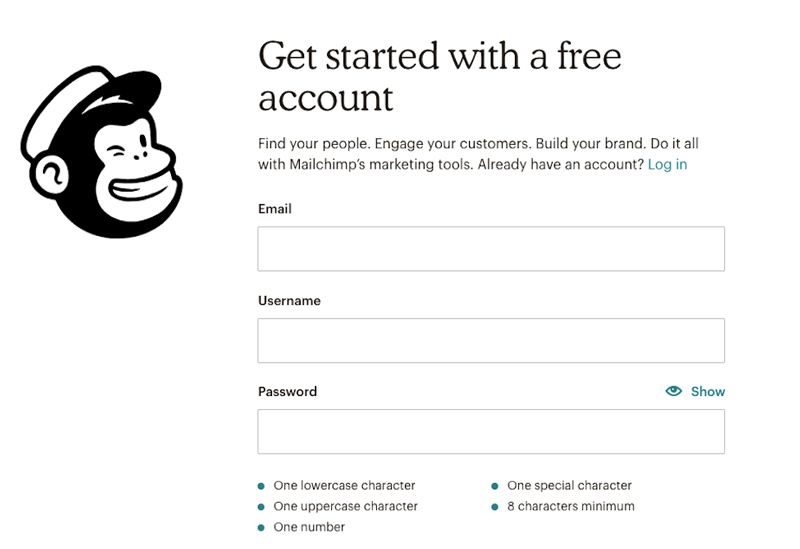
Sign Up for MailChimp
- Click here.
- Enter your business email address.
- Select a username and password.
- Confirm your email address and activate your account in the activation email. Check your spam folder if you do not see it in your inbox!
- Click I’m Not A Robot.
Getting Started with MailChimp
You created your account and confirmed your email. Next, set up a few important details about your account. Log in to your account for the first time and MailChimp will prompt you with a few questions. Fill in your contact information, questions about your daycare, your website and your mailing address.
There are just a few more steps to complete before you can start designing your first email:
Verify Your Domain
Verification confirms that your email address is an account that you have access to. It should also be a professional sounding email address. The example below shows the company name, ParentSeek, and the from email address, team@parentseek.com, right after. If anyone replies to your email campaign, this is where their response will be sent to.

Add Users
Click on your profile name and navigate to Account > Settings > Users > Invite a User. Add their email address and grant them permission to one of the following levels:
- Owner: Primary contact for the account. Owners and Admins have all the same permissions.
- Manager: The Manager can create and send campaigns, import audiences and view reports. They can’t view billing information, export audiences or close the account.
- Author: The Author can create, edit and delete campaigns and templates as well as view reports.
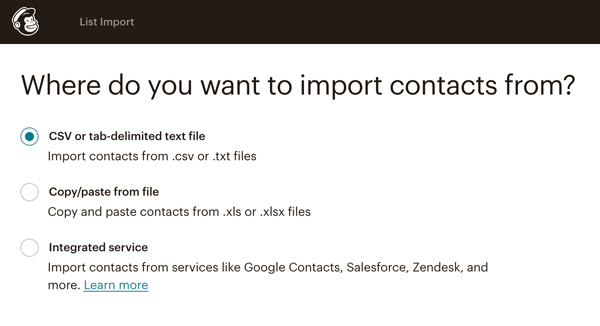
Create a List
In the top navigation bar, select Audience > Manage Audience > Import Contacts.
Collect email addresses and keep them organized in an Excel document. Segment your list into categories like “Current Clients,” “Prospective Families” and “Newsletter Subscriber.” You can save the file as a CSV or copy and paste them directly from your Excel file.
Congrats! You’re ready to set up your first MailChimp email.