Facebook is the social media platform that is impossible to ignore. For the child care industry, it is especially lucrative as the average user is older than the majority of Instagram and Snapchat users. If you don’t have a Facebook page for your child care business yet, use these steps to get started!
Creating a Business Page
Step 1: Go to www.facebook.com/business.
Step 2: In the upper-righthand corner, click the dropdown arrow and select Create a Page.
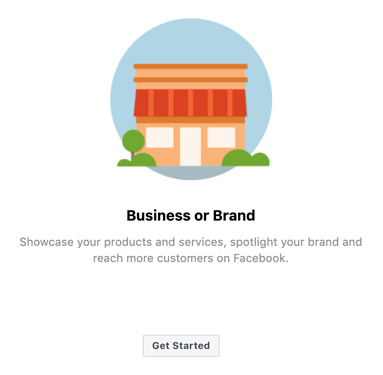
Step 3: Select Get Started underneath Business or Brand.
Step 4: Log in to Facebook. If you are the only person editing the page, use your personal account for easy access to posting and editing. If multiple people will have the login or you prefer to keep things separate, create a new account.
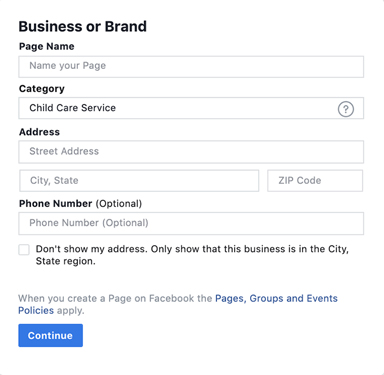
Step 5: Enter the name of your business under Page Name.
Step 6: For the category, select one of the following: child care service, preschool or day care.
Step 7: Enter your center’s Address and Phone Number, and click Continue.
Step 8: Upload your logo, which must be square to prevent cropping and at least 1,000 x 1,000 pixels. Use your logo, or a photo of your building or one of your classrooms so that parents recognize your business right away!
Step 9: Upload a Cover Photo using the proper dimensions of 820 x 312 pixels. Keep words and important parts of the image toward the center or they will be cropped when viewing your page from a cell phone. If you are unsure, view your business profile from your cell phone to be sure it’s displaying to your liking.
Edit Settings
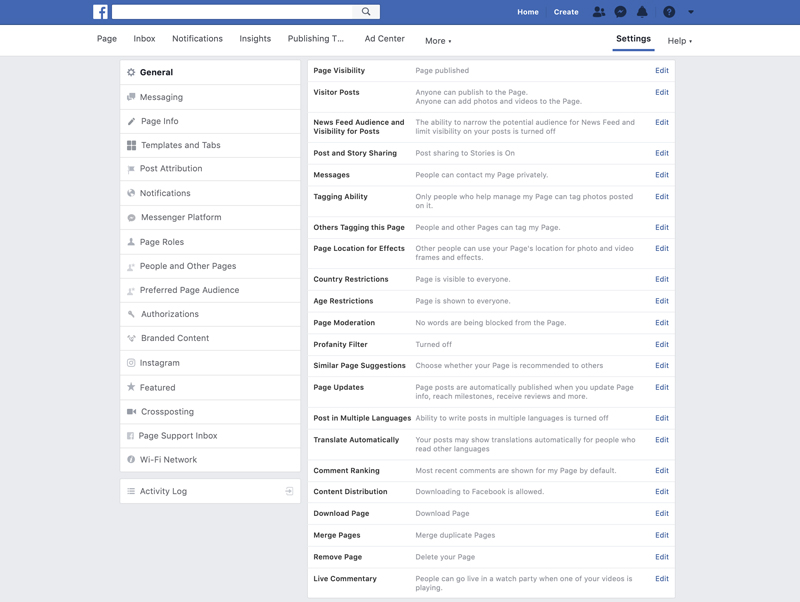
Step 10: Click Settings in the upper right-hand corner. Let’s go through each tab carefully and point out some settings that you might want to pay attention to. There is a lot to take in!
Step 11: General >
- Visitor Posts – ✓ Review posts by other people before they are published to the Page.
- Tagging Ability – ✓ Allow others to tag photos and videos. Parents may like the option of tagging their children in photos posted by your account.
- Country Restrictions – ✓ Only show this Page to viewers in these countries, after you enter United States in the white box.
- Profanity Filter – Select medium or strong from the drop-down menu.
Step 12: Messaging >
- General Settings – Turn on “Prompt people to send messages” so that page visitors are reminded they can message your business directly! This is a low pressure way to start the conversation with current and potential families.
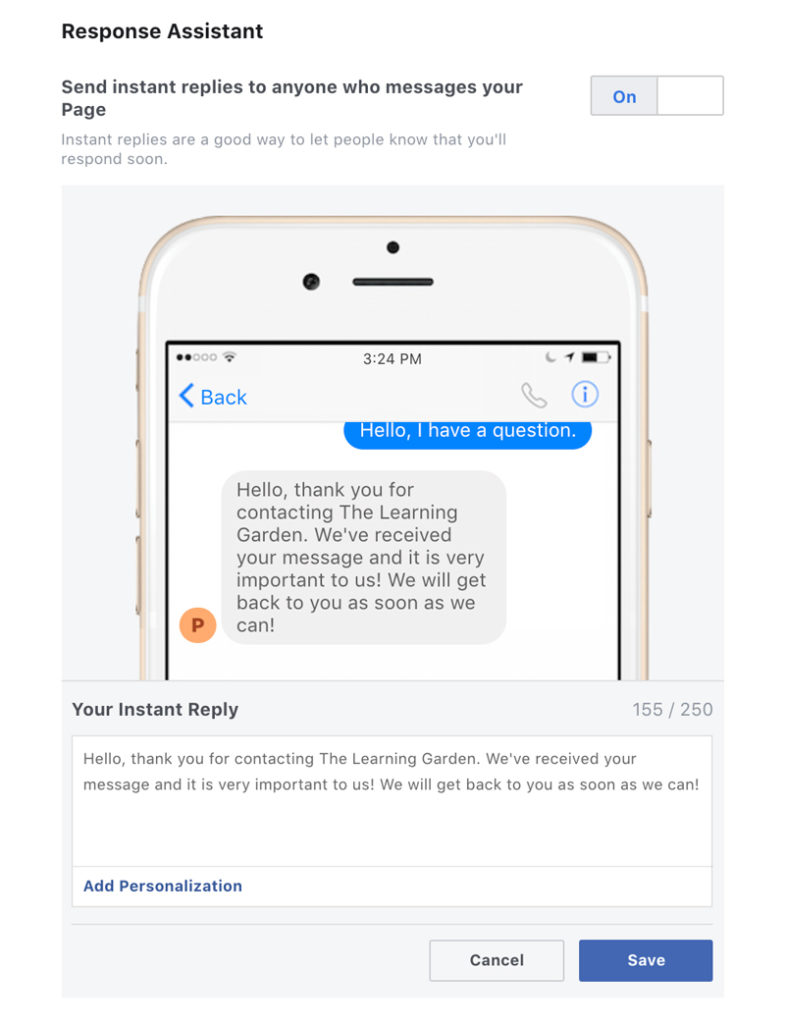
- Response Assistant – Turn this setting on! Running a daycare is busy work and you can’t always answer right away. If someone messages your page, they will receive a customized automatic reply. Edit the response by pressing Change, editing Your Instant Reply and pressing Save.
Step 13: Page Info > Fill out as much information as you can in this section. When customers are trying to find needed information, they will want it easily accessible. Also, make sure to update your information if it changes, like hours or available parking.
- Add a short description about your business.
- Add Categories that pertain to your services, including day care, child care service, preschool and school, to help users find your business.
- Price Range – ✓ Unspecified
Step 14: Templates and Tabs >
- Template – Edit > Services > View Details > Apply Template
- Tabs – Drag and drop the tabs in the order of importance to your center. When you are just starting out, highlight your services, posts and photos. Once you’ve collected lots of positive reviews, you can move it toward the top. See a tab that doesn’t apply to your center? Click the Settings button for that tab and toggle it to off. You can’t do this for every tab but turning off a few empty tabs will significantly decrease the clutter.

Page Roles
Step 15: Post Attribution > Make sure you are posting as your business for consistency (especially if multiple people are posting on your account) and authority. When you’re creating or replying to a post, you will still have the option to post as yourself if there is a situation you’d like to handle on a more personal level.
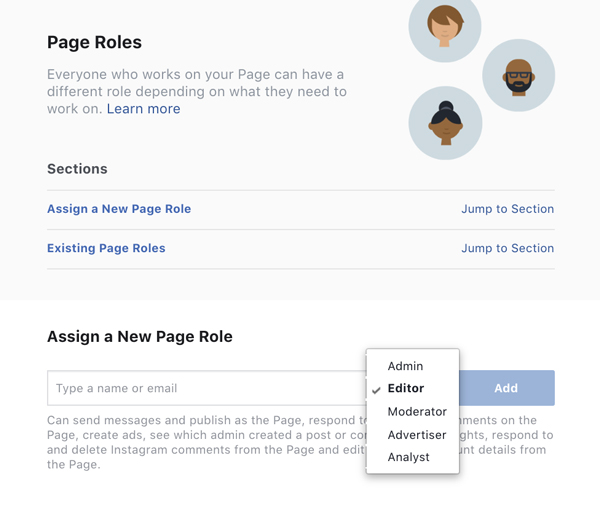
Step 16: Page Roles > You will automatically be made an Admin because you created the page. The role is unrestricted and can change/respond at will. This role should only be given to management. Editors can create posts and ads, along with any editing of the page. We also suggest the role of Moderator be given to an employee or two. This is a restricted role that allows minimal edits, like if there is a typo or a comment/post that needs to be removed.
- Assign New Page Roles – Edit > Services > View Details > Apply Template
Link Social Media Accounts
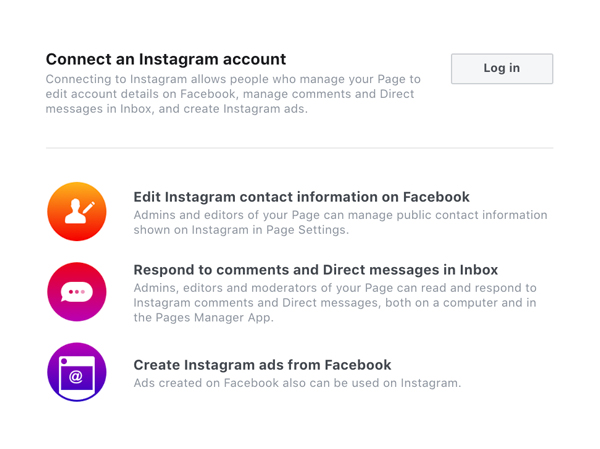
Step 17: Instagram > Click Log in and input your center’s Instagram account information so that you can manage comments and create Instagram ads from Facebook.
Get Followers
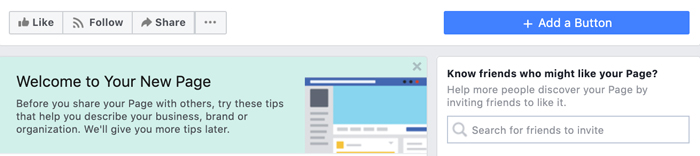
Step 18: Invite Your Friends > Click into the box that says “Search for friends to invite” and select friends you think might be interested in following your business page.
Step 19: Add a Call to Action > Click the blue “+ Add a Button” and choose an action for your customers. Select Contact You, if you would prefer them to call your center. Select Learn More, if you would like to drive them to your website.
Start Posting
Step 20: Introduce Yourself > Create a post each day introducing yourself and your center.
Step 21: Upload Images > Add high-resolution photos to your page. Keep them organized by creating albums like “Classrooms” or “First Day of School.”
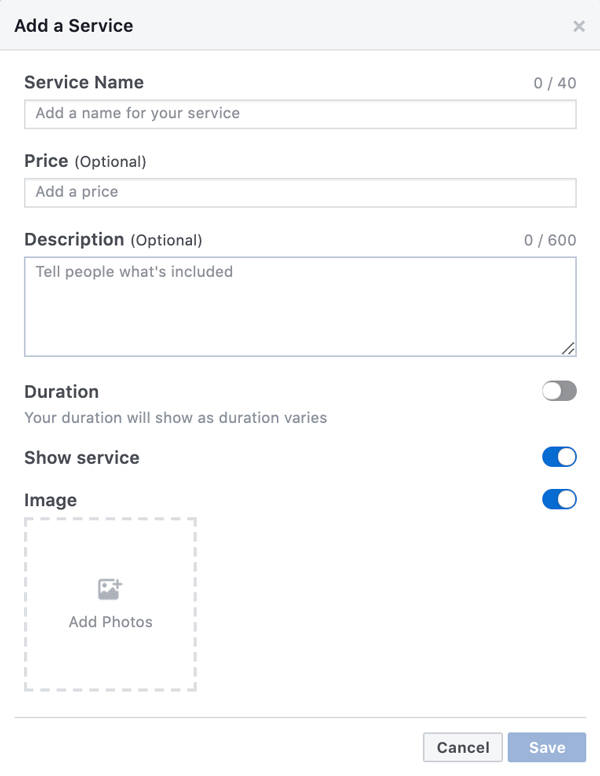
Step 22: Add a Service > Customize this area to reflect your center’s offerings. Let your visitors know what they can expect. Do you offer summer camp? Highlight your programs, such as nursery, toddler, pre-k and after-school care.