Using photos and graphics that stand out in parents’ social media feeds is important. It’s not always possible to use photos of your classes or center. There are times when a bold graphic is more fitting.
Canva is an easy-to-use website that makes it simple to create images based on a template. You can edit templates so they complement your center’s brand and personality. Once you have a few templates you love, use them regularly on your social media platforms to stay consistent.
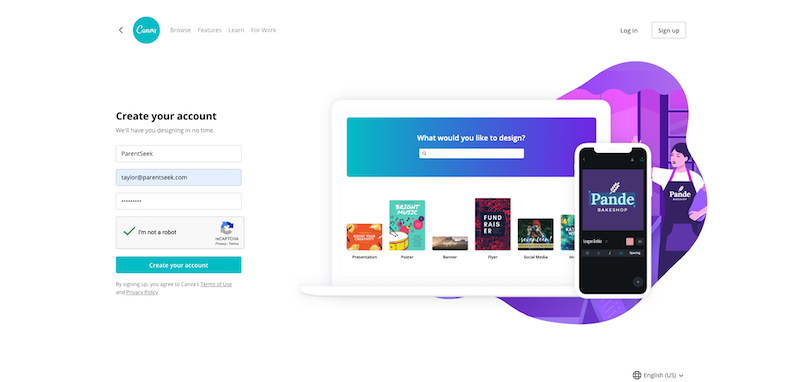
Step 1: To start using Canva, you need to create an account by going to https://www.canva.com/.
Step 2: You can sign up for Canva using your Facebook or Google account. To sign up with email, click on the Sign up with email button. Enter your name, email address and password before clicking the button that says Create your account.
Tip: For on-the-go graphics, download the Canva app and sign in to your account!
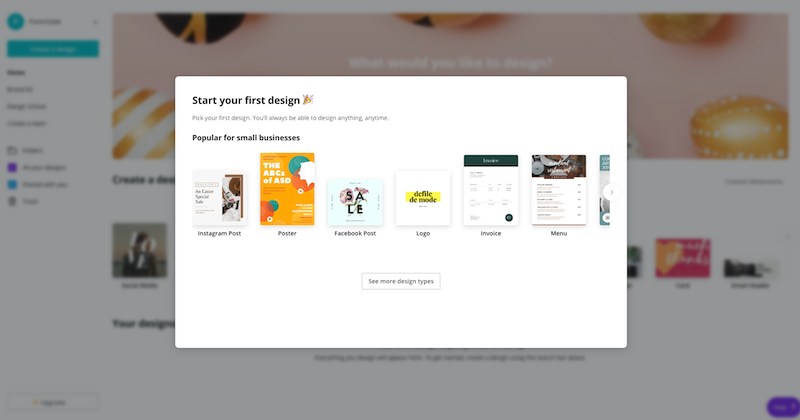
Step 3 (for new users): The first time you visit Canva, you’ll be greeted with a window that shows you popular design types. You can choose from these options, or see more design types.
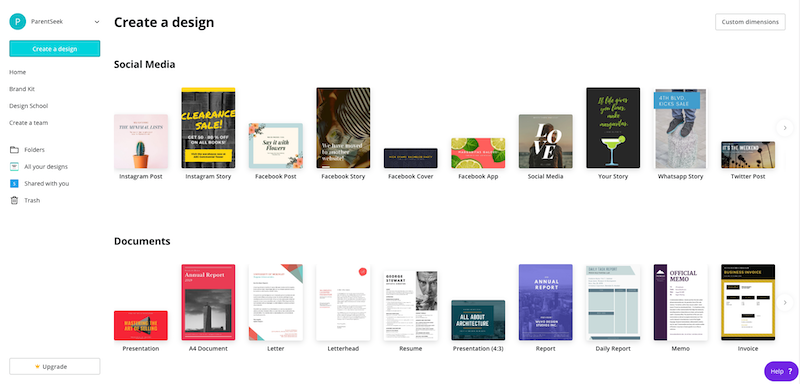
Step 3 (for returning users): After your first design, you’ll create a new graphic with the Create a design button on the left-hand side.
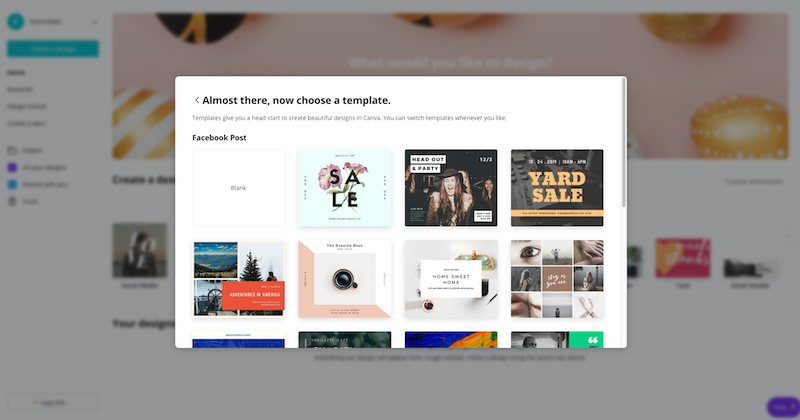
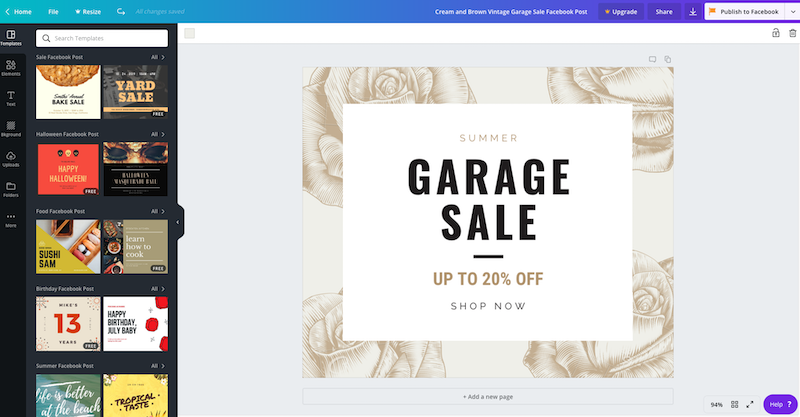
Step 4 (for new users): Choose a template. Remember, this will be the basic outline of your social media graphic. You’ll be able to change the colors, images and fonts, so look past all of those details. The template you chose will appear in Canva’s editing platform.
Step 4 (for returning users): Choose the type of post you need, just like you did for your first post. The size you chose will appear in Canva’s editing platform. Instead of selecting a template in a separate window, you’ll choose the layout you want here.
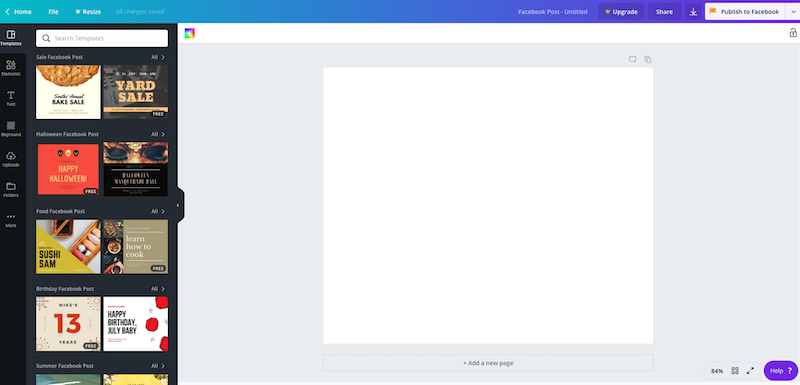
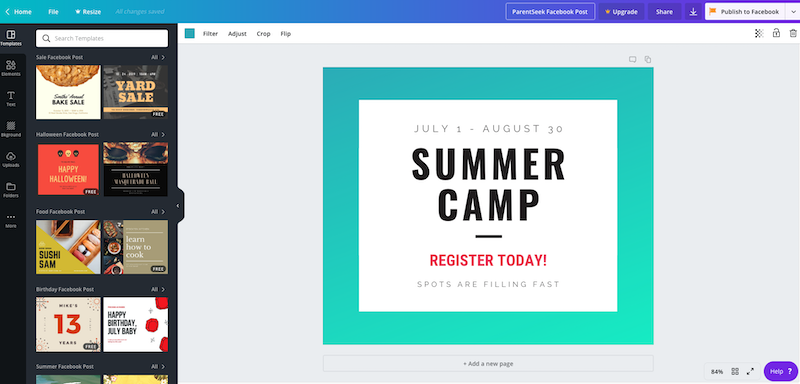
Step 5: Use the menu along the left-hand side to make the template your own. You can edit the text, background, elements (which are like Word’s clip art) and add your own photos.
Step 6: To change the name of your new design, click the text next to the Upgrade button in the upper right-hand corner of your screen. Choose a descriptive name so you can easily find it later.
Step 7: When you’re happy with your design, click File in the upper left-hand corner. From the drop-down menu, select Save.
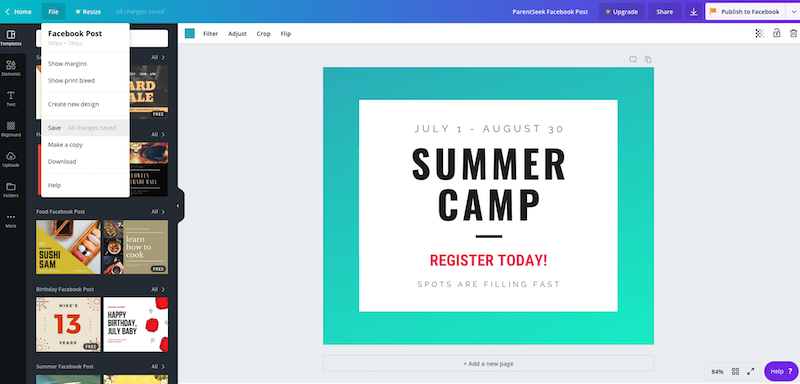
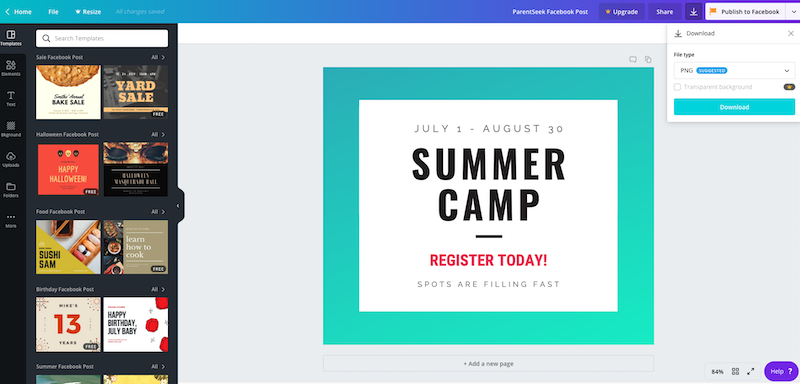
Step 8: Download your design to your computer so you can schedule the social media post in advance. Click the button with the arrow in the top right-hand corner of the screen. Then, click Download.
Tip: Explore Canva’s templates for emails and other marketing too.