There are times when you need an eye-catching graphic for a social media post, email or flyer to grab parents’ attention. Designed visuals are also great when you need to communicate a specific message in your marketing but don’t have a picture or link that fits.
Using a tool with lots of templates in different sizes makes it easier to keep your graphics on brand. We love Easil’s modern templates and stock photo options. However, it’s more complex than other free design tools. Use these steps to see if Easil is right for your center!
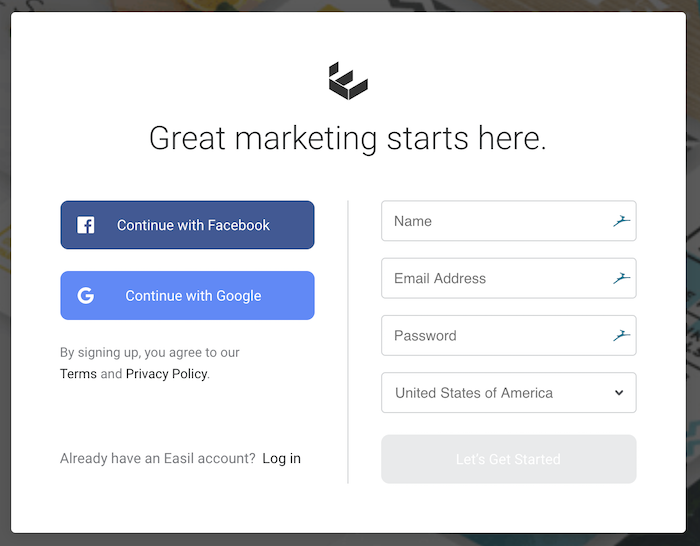
Step 1: Create an Easil account by visiting https://app.easil.com/. Sign up using Facebook, Google or your email address. If you already have an account, log in.
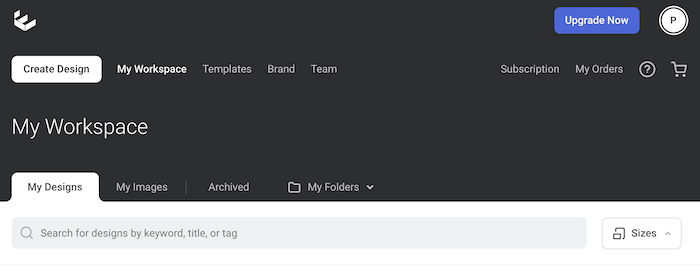
Step 2: Click the button Create Design at the top of the screen, right below the Easil logo.
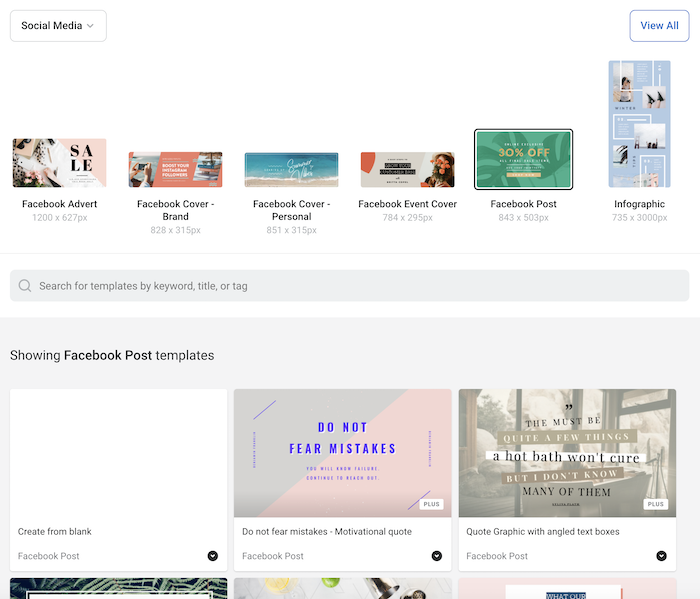
Step 3: Select the correct size for your graphic. Then, scroll through the template options. For this example, we chose to design a Facebook post.
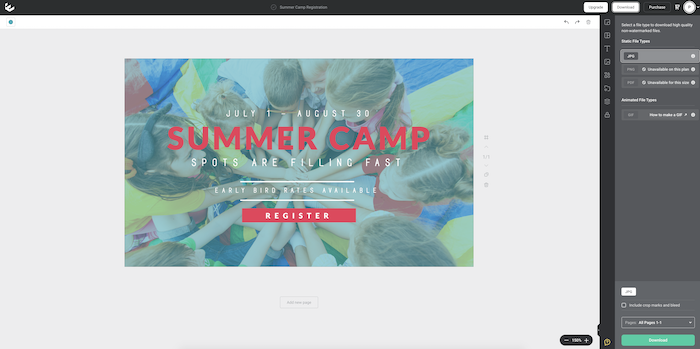
Step 4: Use the menu along the right-hand side to make the template your own. You can edit the text, images and shapes.
Step 5: Click on the title in the center of your screen to rename your design.

Step 6: When you’re happy with your design, click Download in the upper right-hand corner of your screen. If you have a free plan, select JPG and click Download. With a paid plan, you’ll have more file type options. If you want to, you can save your design as a PNG instead.