After creating a Facebook Page for your child care center, you’ll want to make sure you’re posting on a regular basis. Scheduling your Facebook posts a few weeks or a month in advance makes your social media more consistent. Creating and scheduling ahead of time is also a more efficient use of your limited time as a busy child care professional!
One of the easiest ways to schedule your posts in advance on Facebook is with the platform’s built-in scheduling tool. To use Facebook’s tool, you will need to be a Page Admin or Editor of your center’s Facebook page. These are the only Page roles with the ability to create or delete posts for your business’s page. If you created your center’s page, you are already a Page Admin!
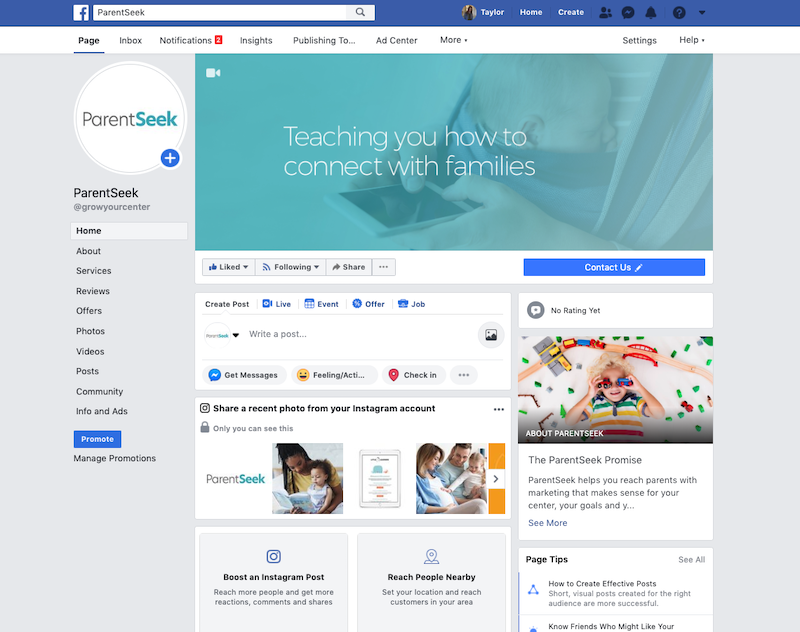
Step 1: Navigate to your center’s Facebook page.
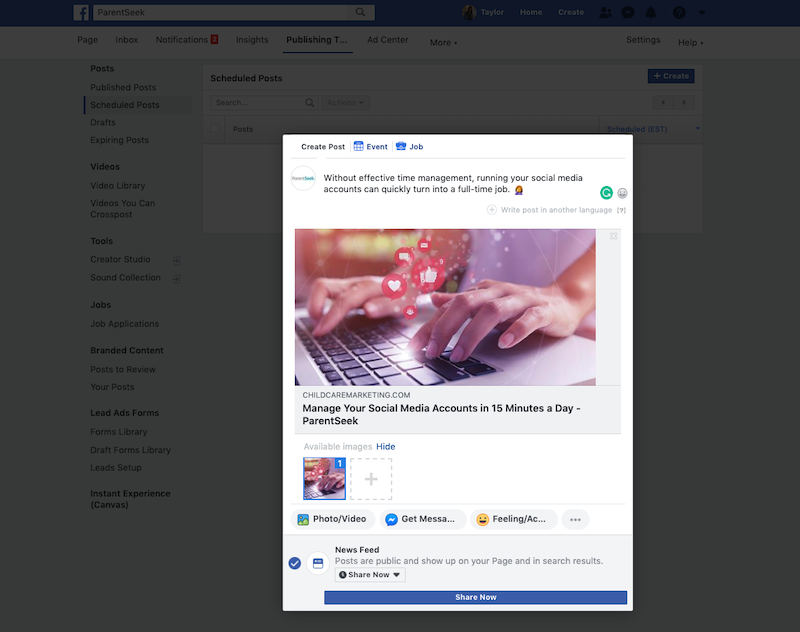
Step 2: Select Publishing Tools from the top row of options. From the list of options on the left-hand side, click on Scheduled Posts.

Step 3: Click on the blue + Create button in the top right-hand corner, just under Settings and Help. Write your Facebook post in the box that appears. You can tag people, add photos and check in to a location just like you would if you were posting right now.
Tip: When you paste a link into Facebook, a preview of the post will show up. After the preview appears, delete the link from the text box. This makes your posts look cleaner!
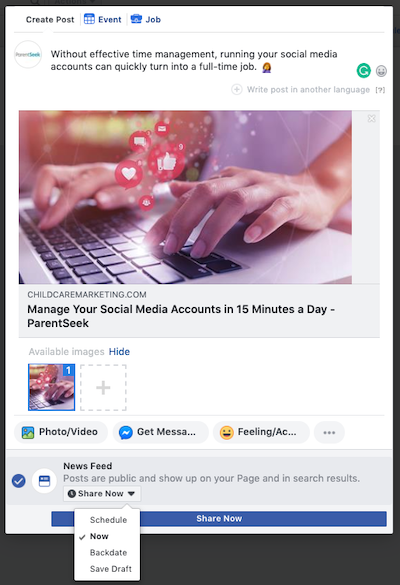
Step 4: Change the grey drop-down menu with the clock icon from Share Now to Schedule. Select the date and time you want your Facebook post to be shared. Click Schedule.
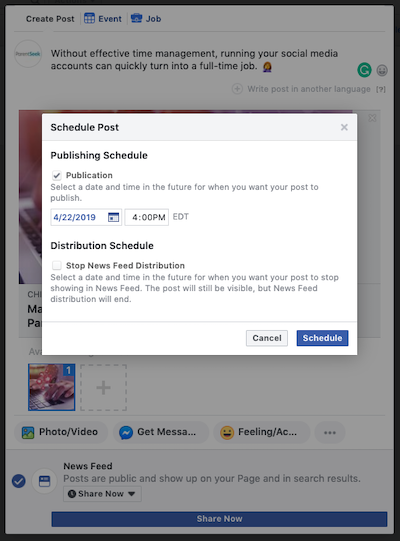
Step 5: Click the long blue button along the bottom of the window that now says Schedule Post. Select the date and time you want your Facebook post to be shared again, just like you did in Step 4. Click Schedule. Your Facebook post is now scheduled for the date and time in the future that you chose!
Tip: If the date and time you select in Step 5 are different than the one you selected in Step 4, Facebook will use the date and time you chose in Step 5.
Step 6: To edit your scheduled post, click on the post’s blue text. A preview window will pop up. You can choose to edit the post’s text with the dark blue Edit button.
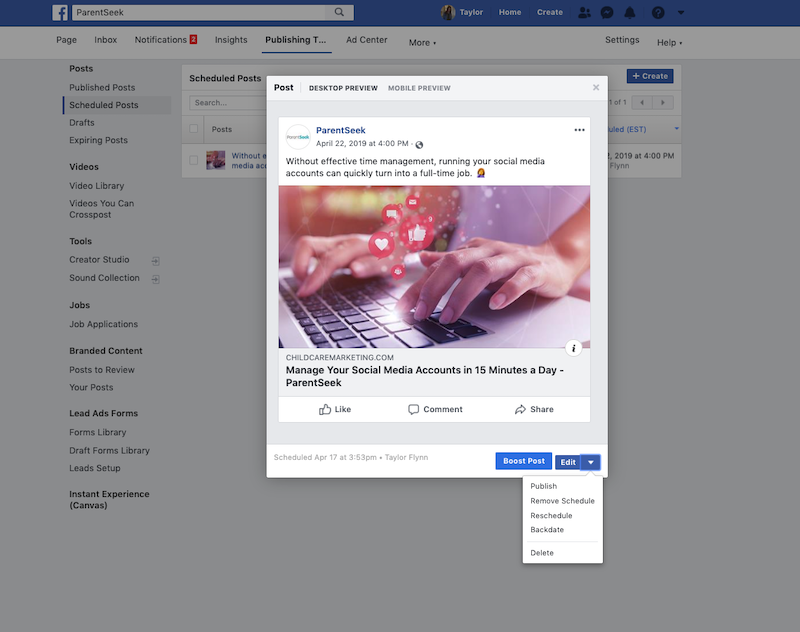
If you click on the white arrow, a menu of options drops down. Here, you can choose to:
- Publish the post now.
- Remove the date and time the post is currently scheduled for. This turns your scheduled post into a draft.
- Reschedule the post for a different date and time.
- Backdate the post so it looks like it was published in the past.
- Delete the scheduled post.